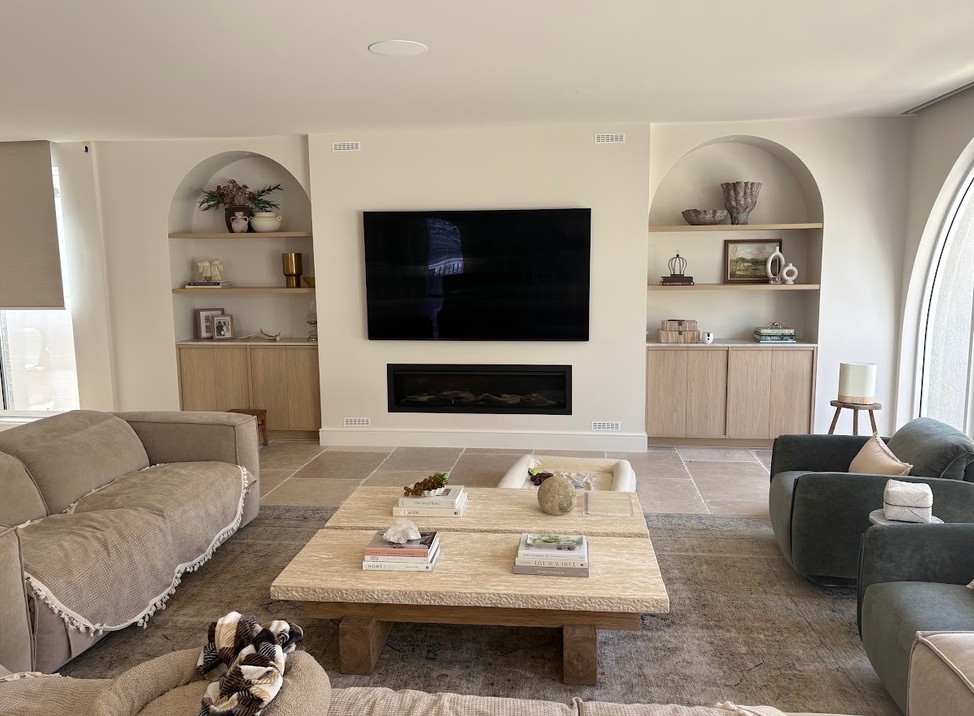
Residential Plastering on the Gold Coast
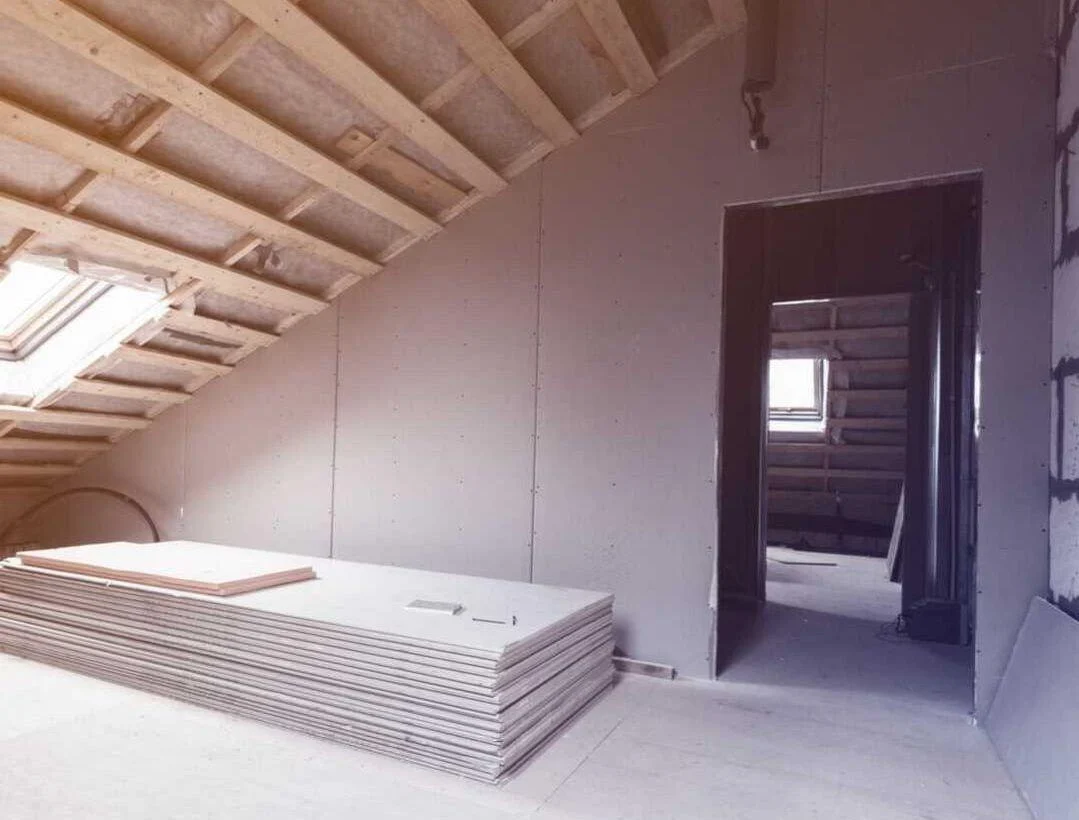
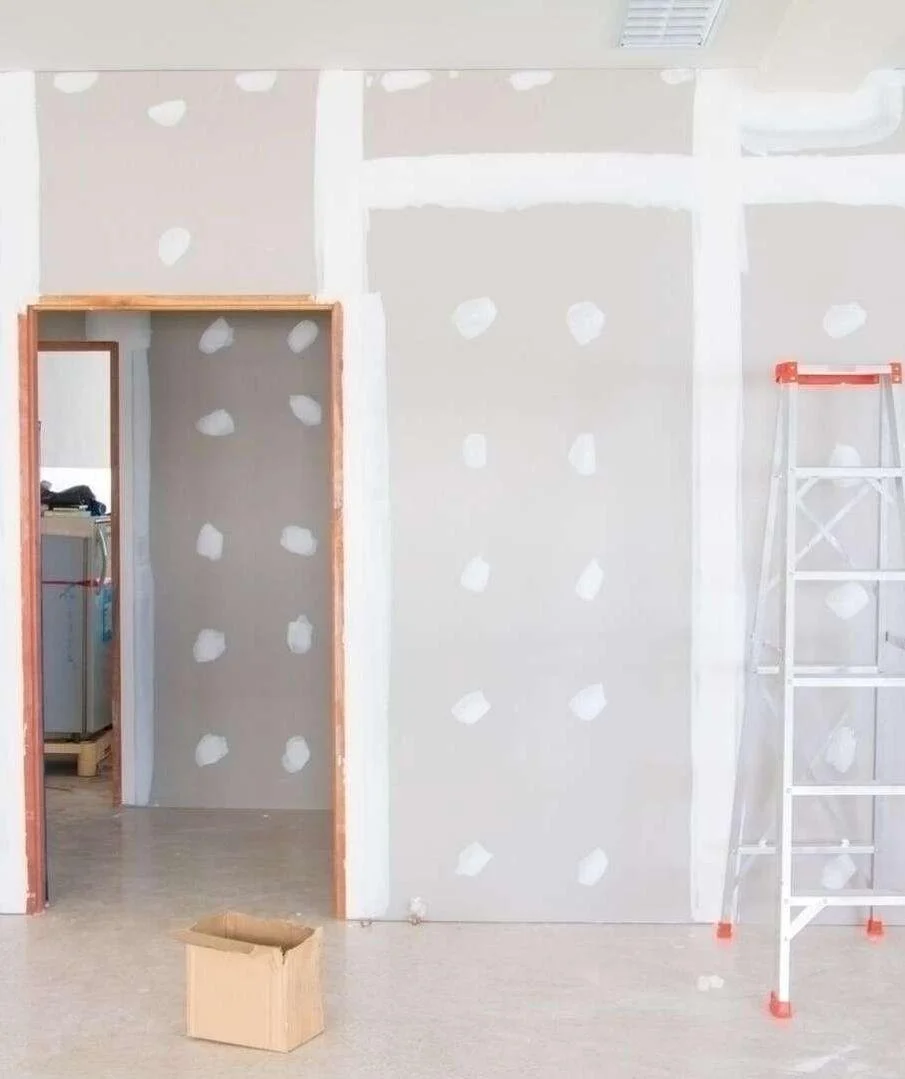
Standard plasterboard sheet2400 × 1200 × 13 mm
Plastering Services for Gold Coast Homes
Whether you're building new, adding an extension or renovating an older home, we line and finish your walls and ceilings so they're smooth, straight and ready for paint.
Most Australian homes are lined with plasterboard, also called gyprock, drywall or wallboard. Each sheet has a gypsum core faced with heavy paper on both sides. The long edges are slightly recessed, so once the sheets are fixed we set the joins with plaster and sand them flush for a seamless finish.
Residential Plastering for Every Room
From a single patch repair to lining a whole new home, every wall and ceiling gets the same care with fixing, setting and finishing.
Plasterboard Walls & Ceilings
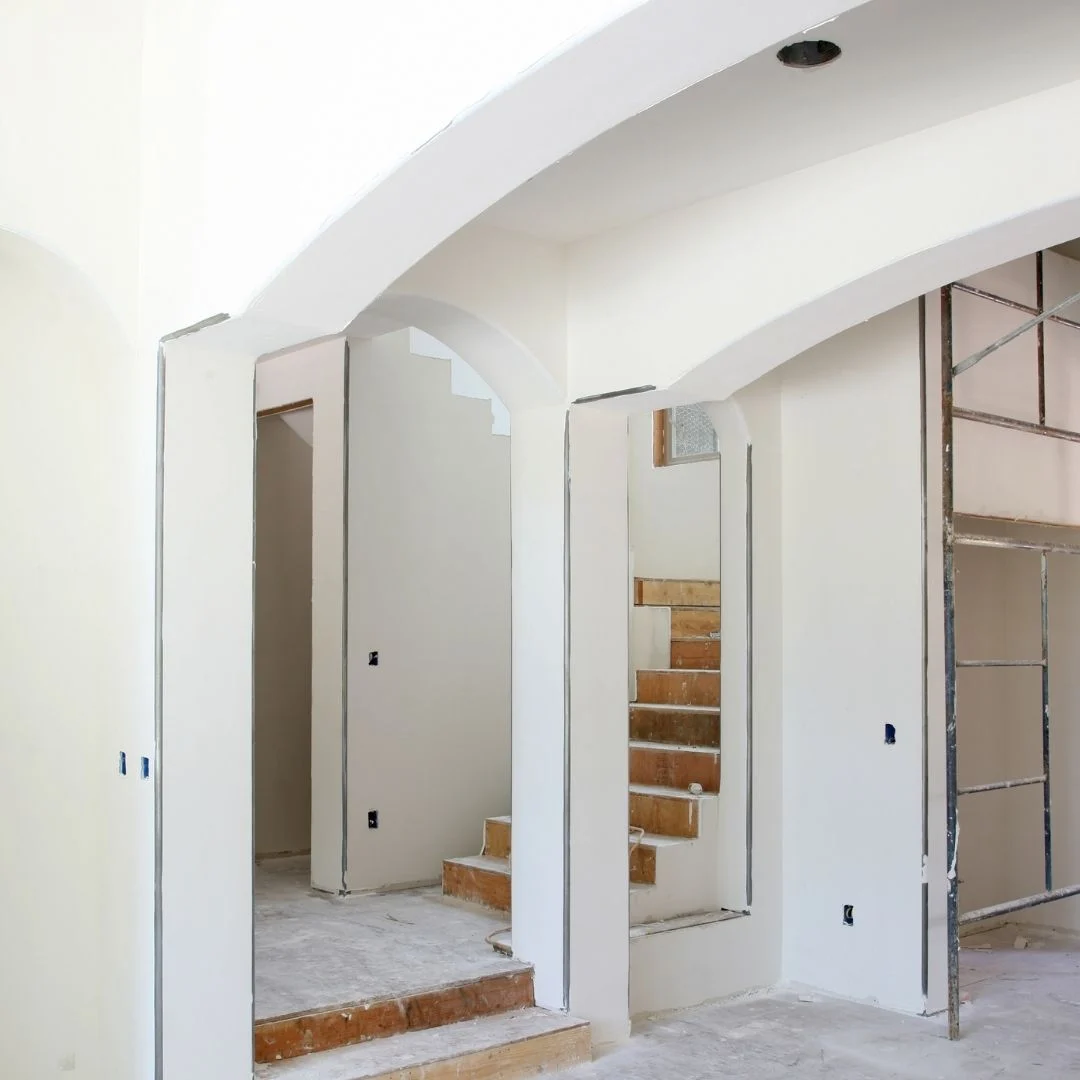
New plasterboard fixed and set for new builds, extensions and renovations.
Ceiling Replacement & Repairs
Sagging, cracked or storm-damaged ceilings replaced, or patched to blend in.
Cornices & Decorative Work
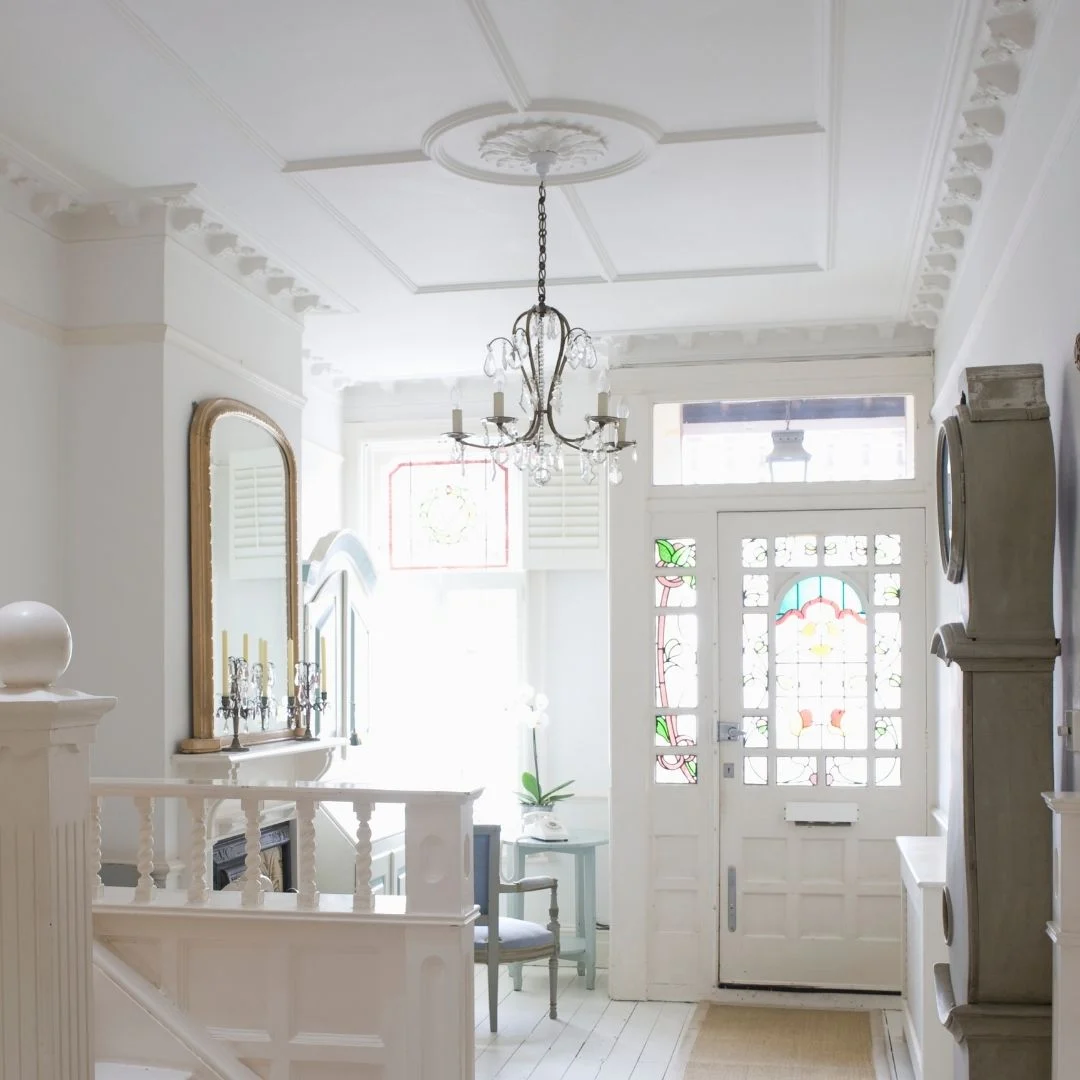
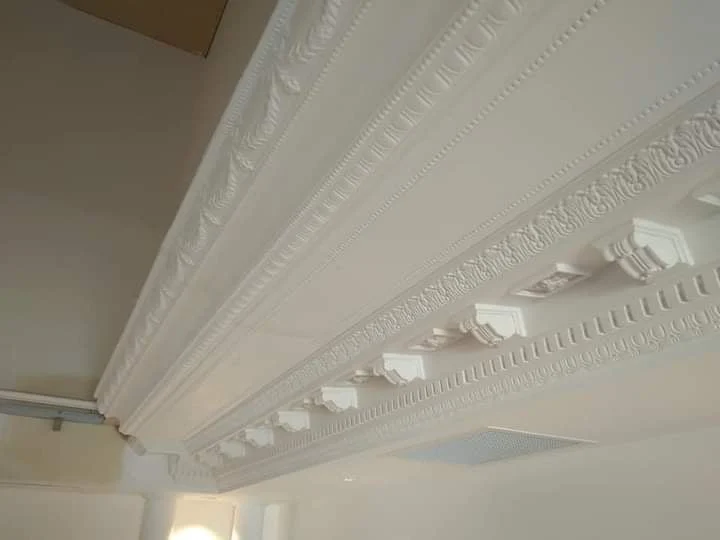
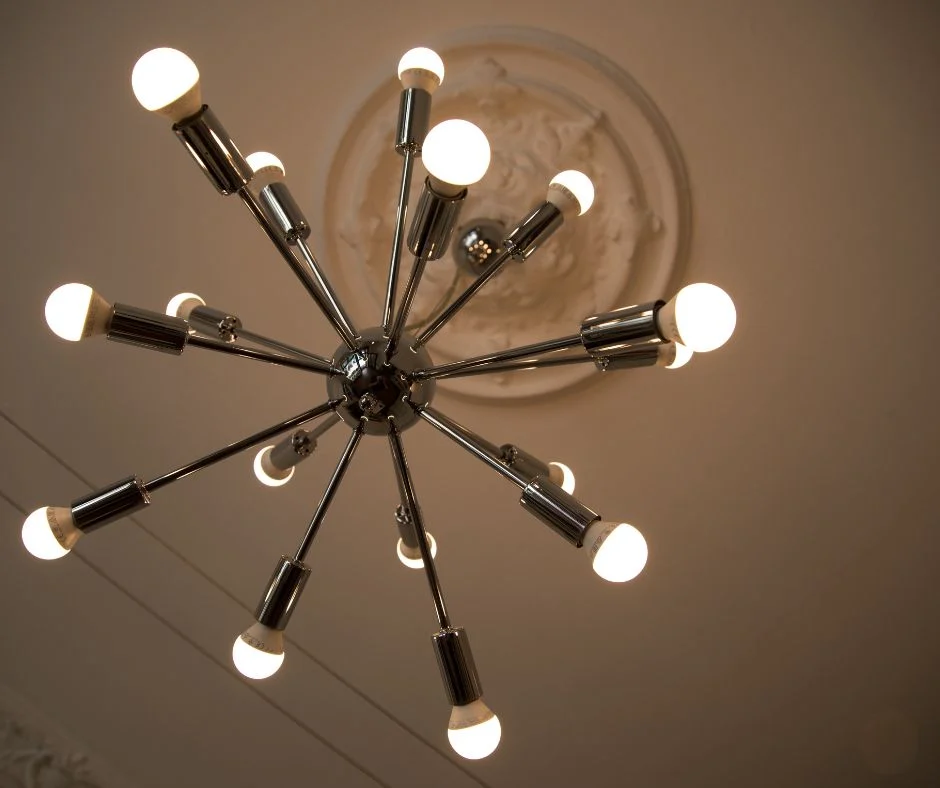
Traditional cornices and ceiling roses, or square set and shadow line.
Bulkheads & Feature Ceilings
Bulkheads, coffered ceilings and recesses built around your lighting and joinery.
Water Damage & Patch Repairs
Holes, cracks and water-damaged areas repaired and finished ready for paint.
Soundproof Walls & Ceilings
Partition walls and ceilings lined to cut down noise between rooms.
Decorative or Modern & Minimalist Plastering
We love restoration and decorative plastering because of the skill it takes to get a flawless result, and that same precision is what makes a minimalist interior look sharp.
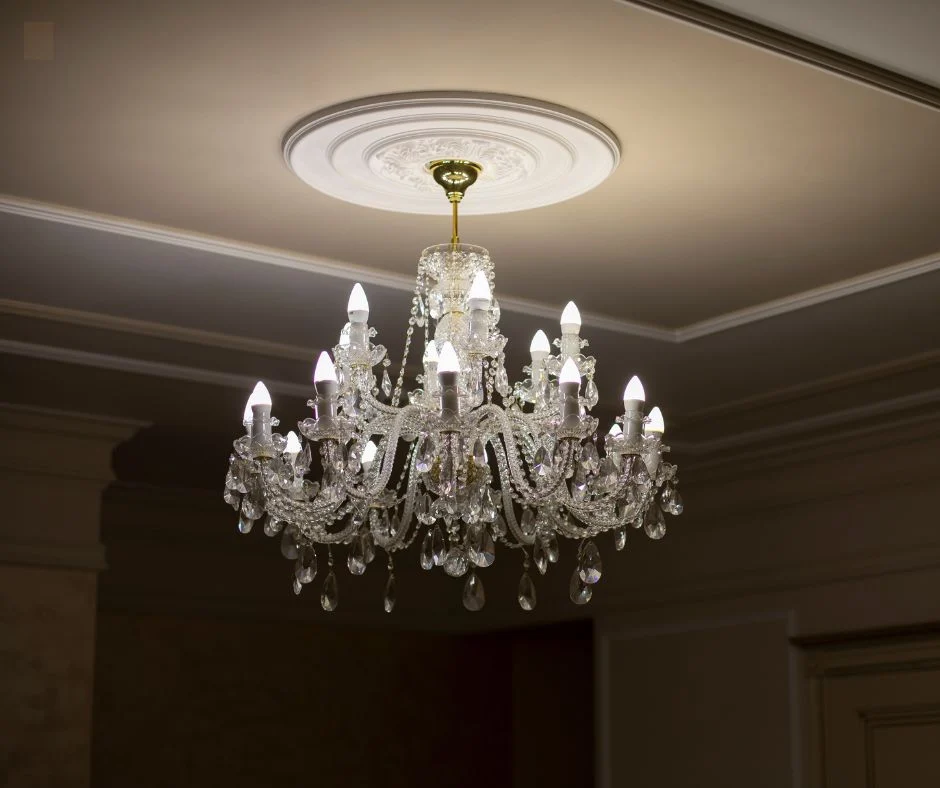 Decorative
Classic & Decorative
Ornate cornices, ceiling roses and panel mouldings for Queenslanders, heritage homes and anyone who loves a traditional look.
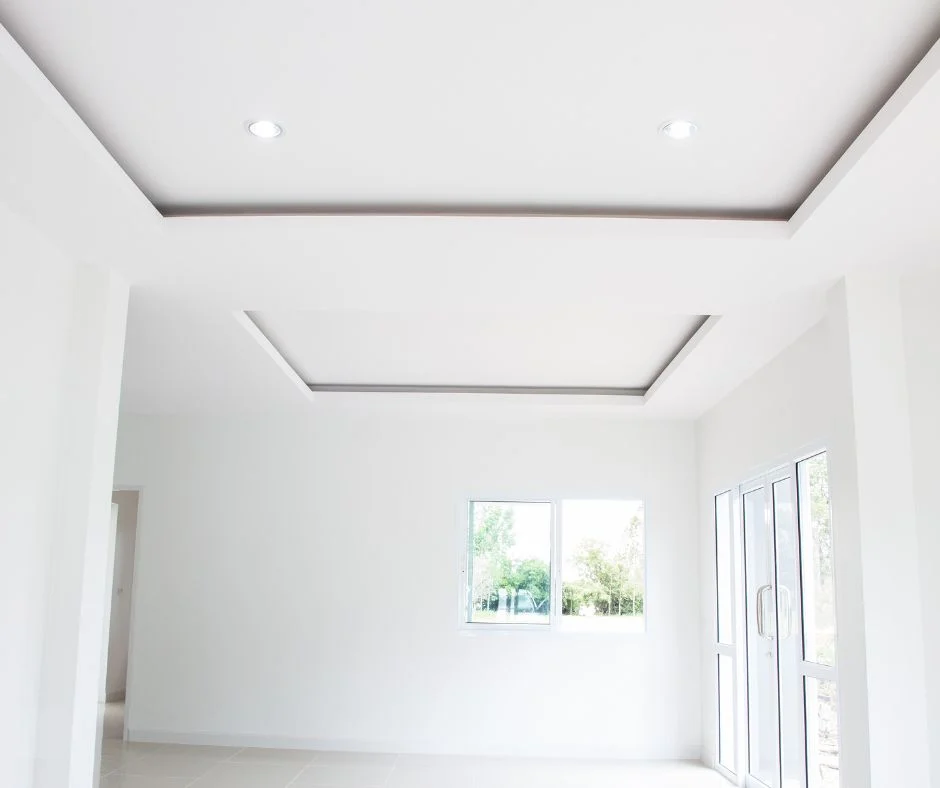 Minimalist
Modern & Minimalist
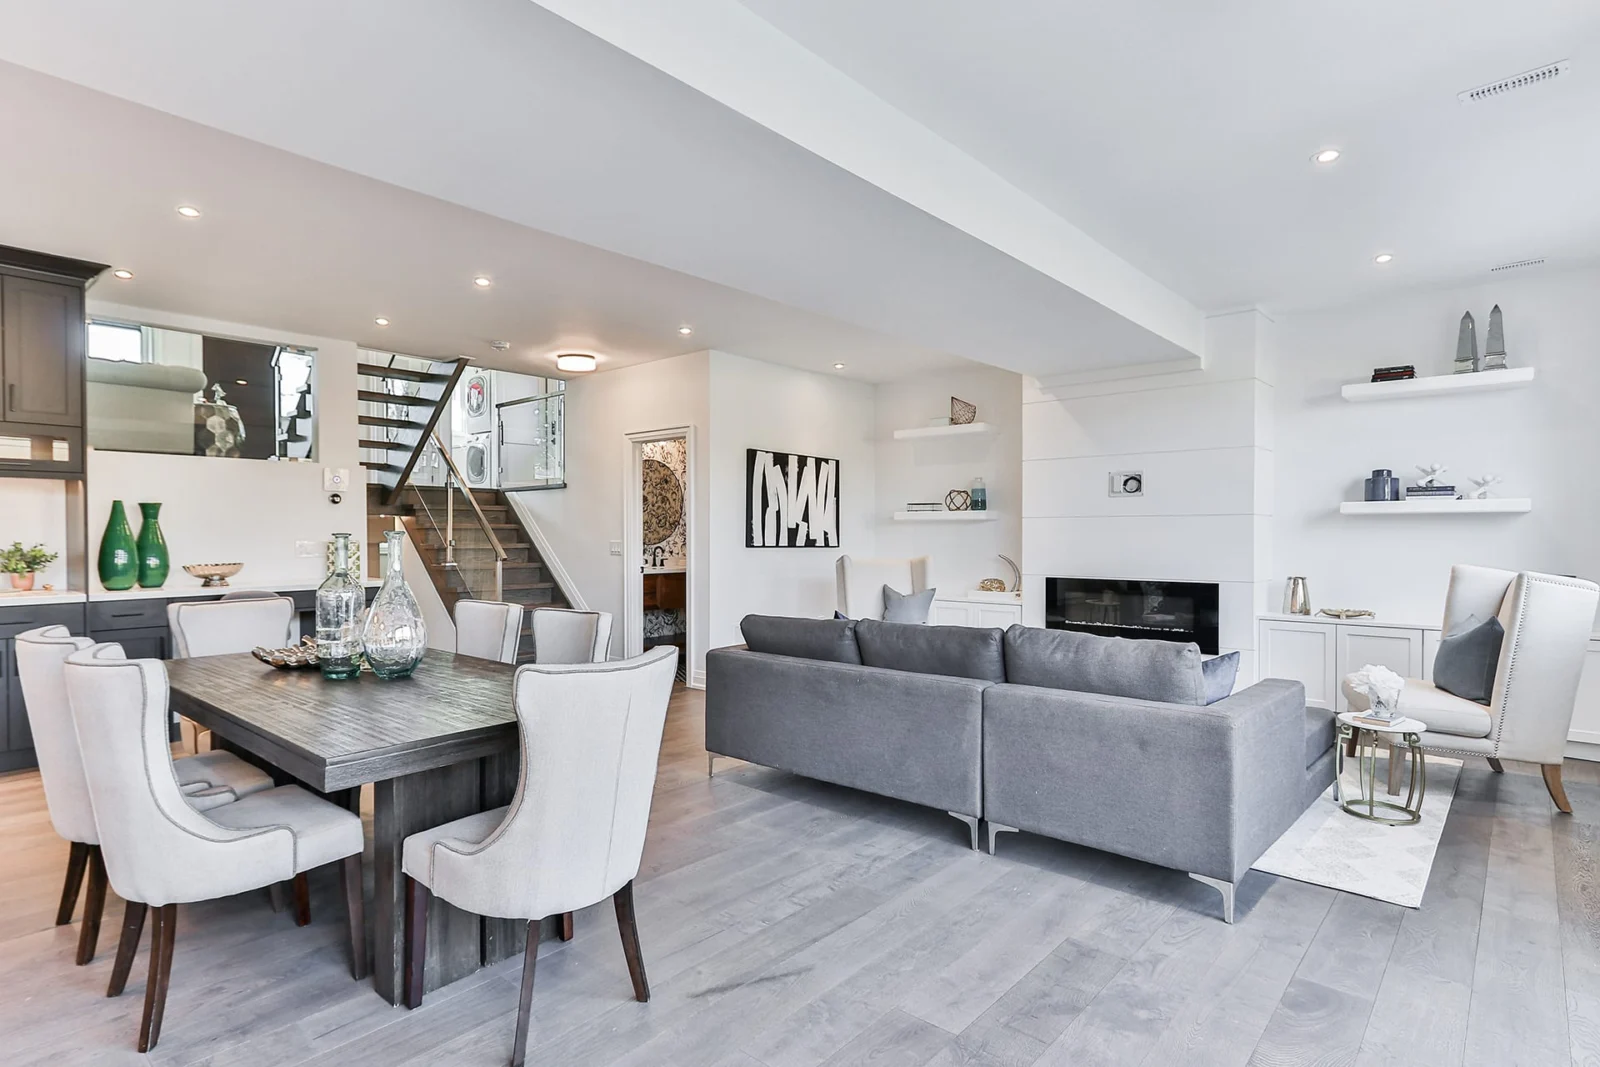
Square set and shadow line cornices with seamless walls and ceilings for a clean, contemporary finish.
Once painted, plasterboard walls have a seamless look. They can also be wallpapered, or given a textured finish that is sprayed or rolled on.
The Right Level of Plaster Finish
The Australian/New Zealand Standard AS/NZS 2589 sets out levels of finish for plasterboard walls and ceilings. We follow it, and help you choose the right level for each room based on the lighting and the paint you have planned.
Level 3: Basic finish
Joints and fixings set, for areas that will get a heavy texture or where appearance is less important, such as garages and storage areas.
Level 4: Standard for most homes
Suits walls and ceilings with flat or low-sheen paint under normal lighting. This is the level most homes are finished to.
Most homesLevel 5: Premium, smoothest finish
A skim coat over the whole surface. Recommended under critical lighting, or with gloss and semi-gloss paints.
Lighting & Paint: Getting the Best Plaster Finish
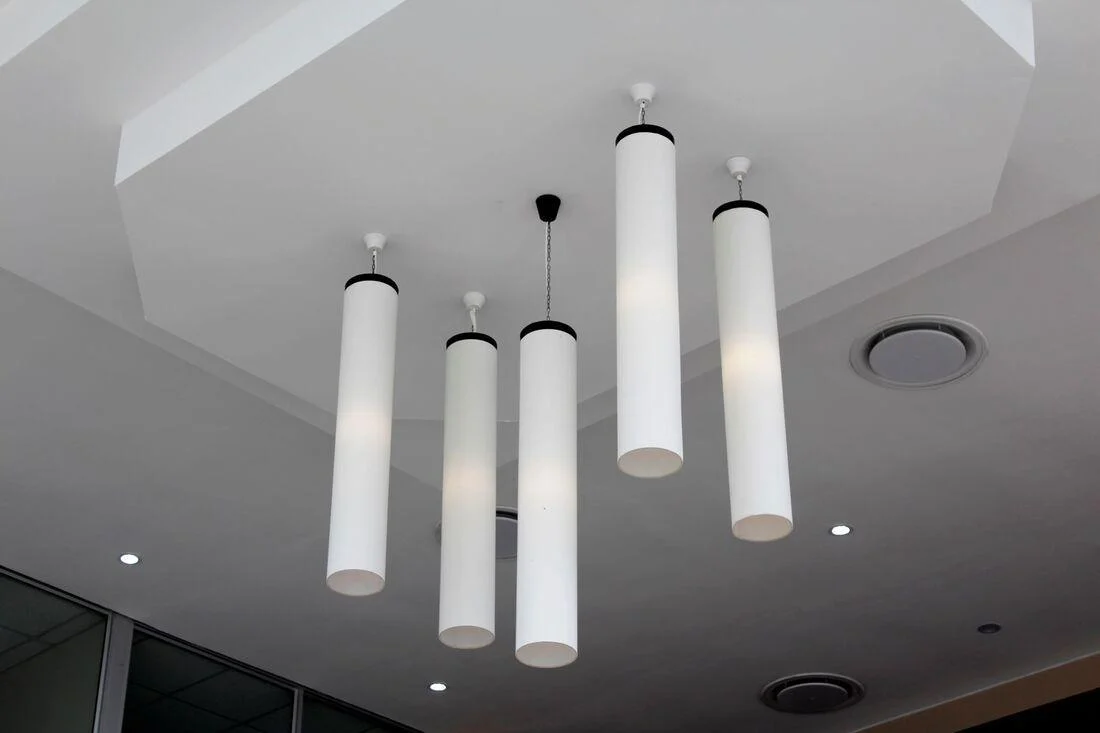
Critical lighting, where light hits a wall or ceiling almost parallel to the surface, exaggerates even small imperfections. Planning lighting and paint alongside the plastering makes a real difference.
Plan your lighting
Choose paint or wallpaper
Recent Residential Plastering Projects
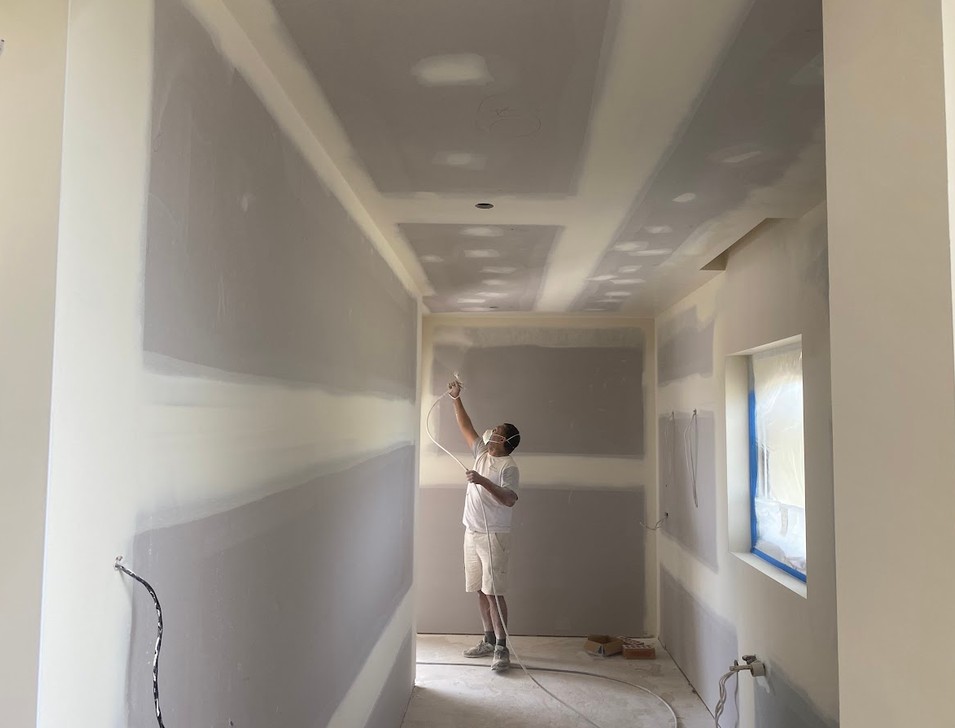
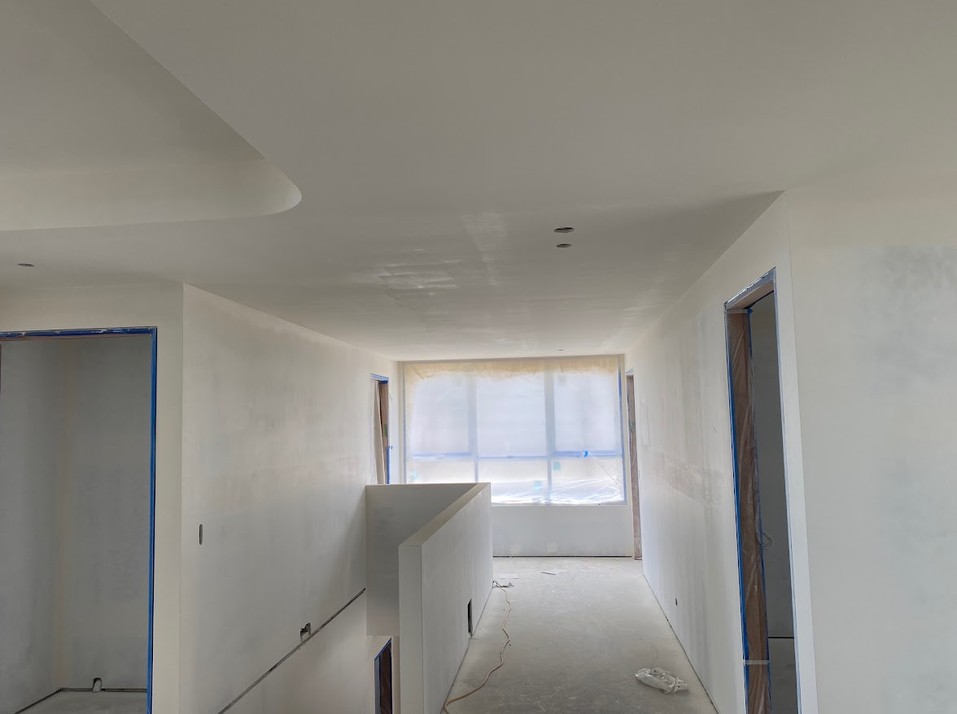
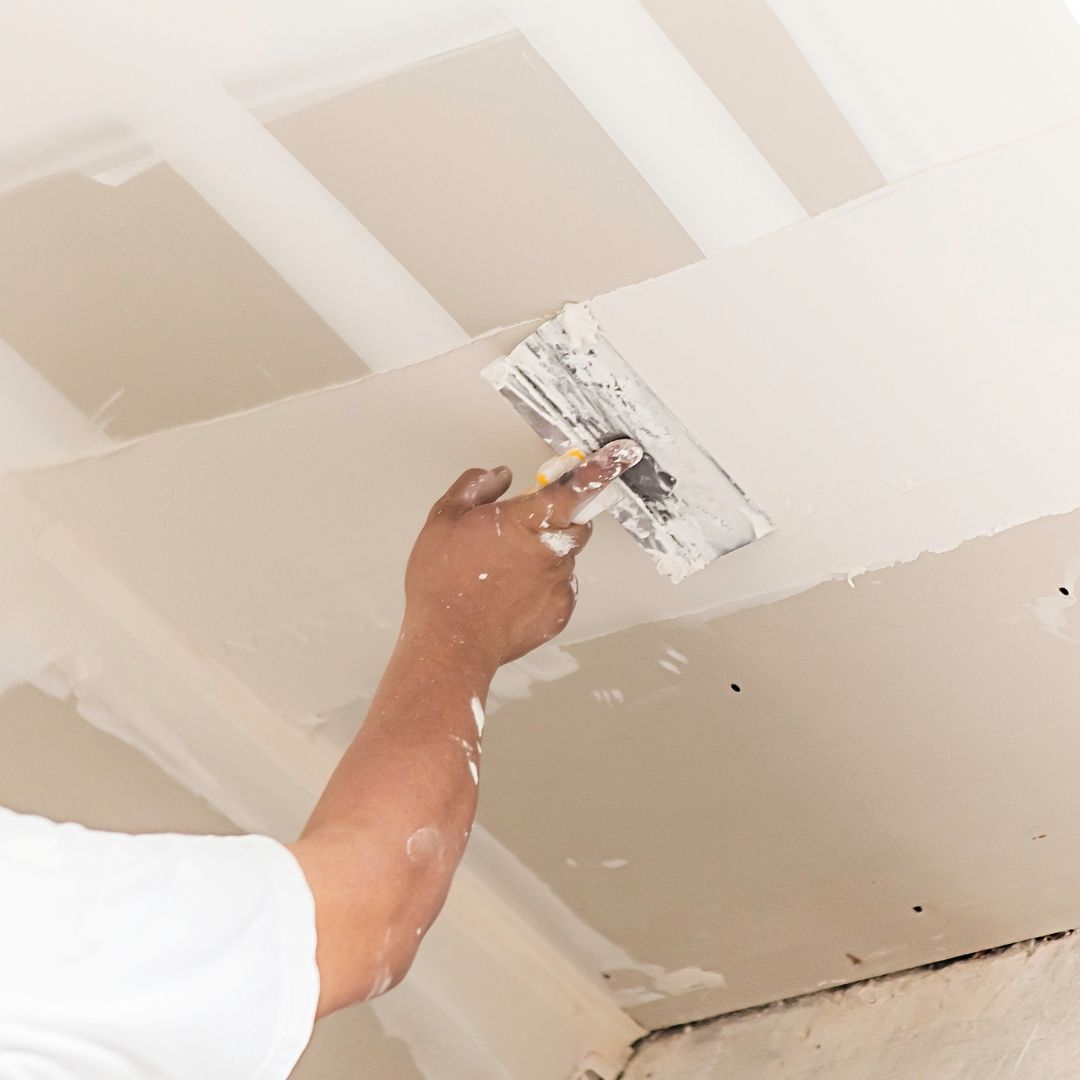
New linings, ceilings, cornices and restorations by our team. Tap any image to view it full size.
How Your Residential Plastering Project Works
Start With a Free QuoteTell Us About Your Home
Call us or send the form with a few details, and photos of the walls or ceilings if you have them.
We Assess & Advise
We look at the work where needed and talk through finishes, cornices and lighting.
Receive Your Quote
We'll provide a clear quote based on the work required, with no obligation.
Fix, Set & Finish
We install, set and sand to a smooth finish, then clean up before we leave.
Residential Plastering Across the Gold Coast
We work in homes right across the Gold Coast, from Coomera and Hope Island in the north to Coolangatta in the south.
Gold Coast areas we cover
Gold Coast & surrounding areas
Not sure if we cover your suburb? Get in touch and we'll let you know.
Residential Plastering FAQs
Common questions from Gold Coast homeowners about plastering walls and ceilings.
Still have a question?
Our team is happy to talk through your project and answer any questions.
Call (07) 5315 8349What residential plastering work do you do?
We install plasterboard walls and ceilings, replace and repair ceilings, fit cornices (decorative, square set and shadow line), build bulkheads and feature ceilings, and repair holes, cracks and water damage in homes across the Gold Coast.
Is plasterboard the same as gyprock?
Yes. Gyprock is a well-known brand of plasterboard, which is also called drywall or wallboard. It has a gypsum core faced with heavy paper, and it lines the walls and ceilings of most Australian homes.
Do you plaster new homes and extensions?
Yes. We line and finish walls and ceilings in new homes and extensions, and we work alongside builders and other trades on residential construction and renovations.
Can you replace a sagging or water-damaged ceiling?
Yes. We remove the damaged section, replace the plasterboard and set it to blend with the rest of the ceiling. Storm and water damage repairs are a regular part of our residential work.
What level of finish do I need?
Most homes are finished to Level 4 under AS/NZS 2589, which suits flat or low-sheen paint under normal lighting. Where a wall or ceiling is under critical lighting, or you are using gloss or semi-gloss paint, Level 5 gives the smoothest result. We help you decide room by room.
Do you do square set and shadow line cornices?
Yes. Alongside traditional decorative cornices and ceiling roses, we do square set and shadow line finishes for a clean, modern look.
Why do my walls show marks under some lights?
Light that hits a surface at a low angle, such as from a window at the end of a wall or a badly angled spotlight, exaggerates small imperfections. Planning lighting and paint sheen alongside the level of finish makes a big difference.
Do you provide free quotes?
Yes. Call (07) 5315 8349 or send us your details and photos, and we’ll get back to you with a free, no-obligation quote.
Other Plastering Services
Plastering for every kind of project across the Gold Coast.
Need a Residential Plasterer?
Tell us about your home and the walls or ceilings you need done. We’ll get back to you to talk through the work and arrange a free quote.
(07) 5315 8349Call for a free quote
Gold Coast & surroundsResidential & commercial
QBCC LicensedLicence No. 15576119
25+ yearsOf plastering experience
Request a Free Plastering Quote
Fill in your details and we'll be in touch to discuss your project.